Custom slideshows as banners and page backgrounds
These custom slideshows are designed to enhance a page or a gallery overview. They can contain images and videos that will automatically play (or naturally, just a single fixed image). They can be located:
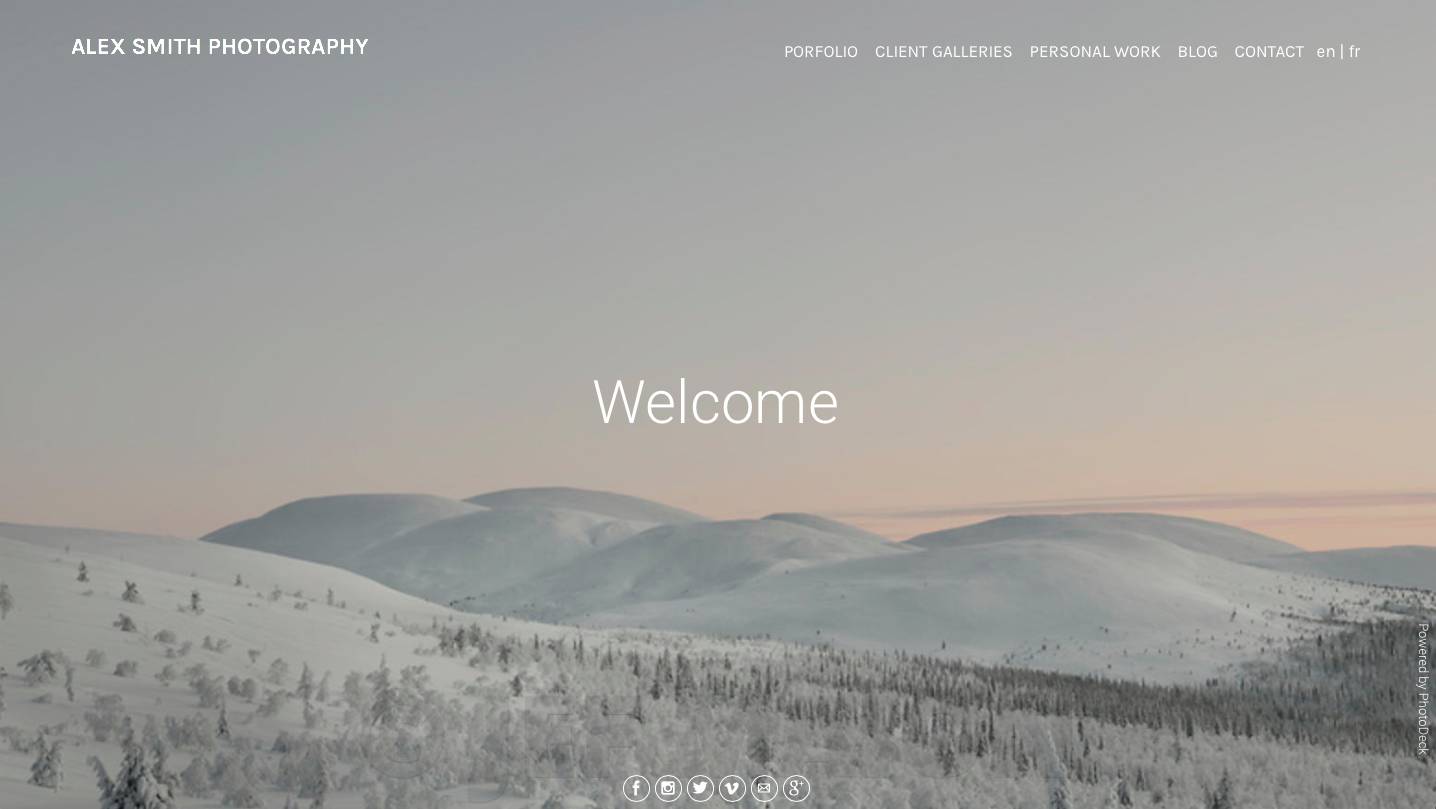
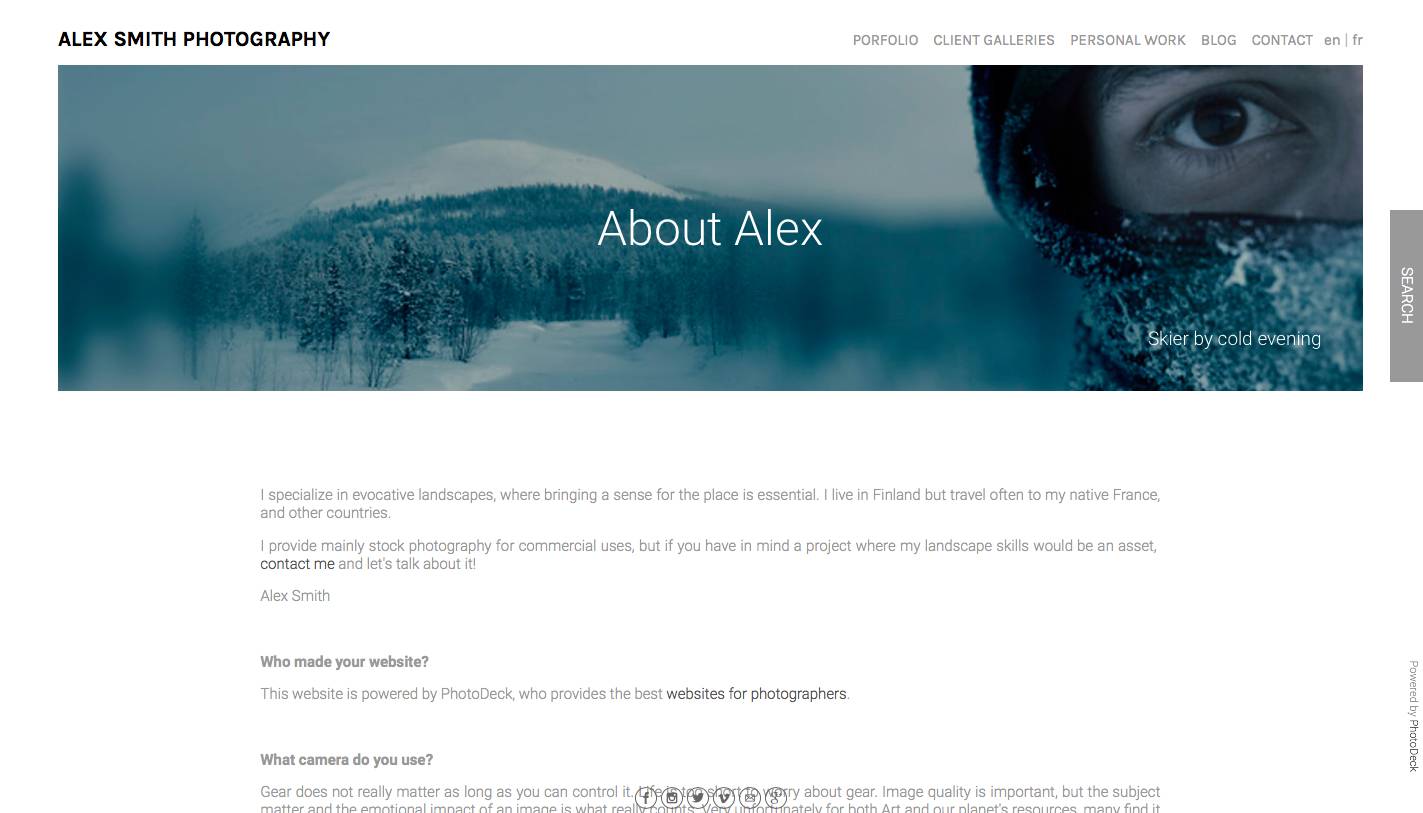
- As the background for your website on that page. In this case, the website design will automatically adjust to display as much of the image / video as possible, and to unify the text color ;

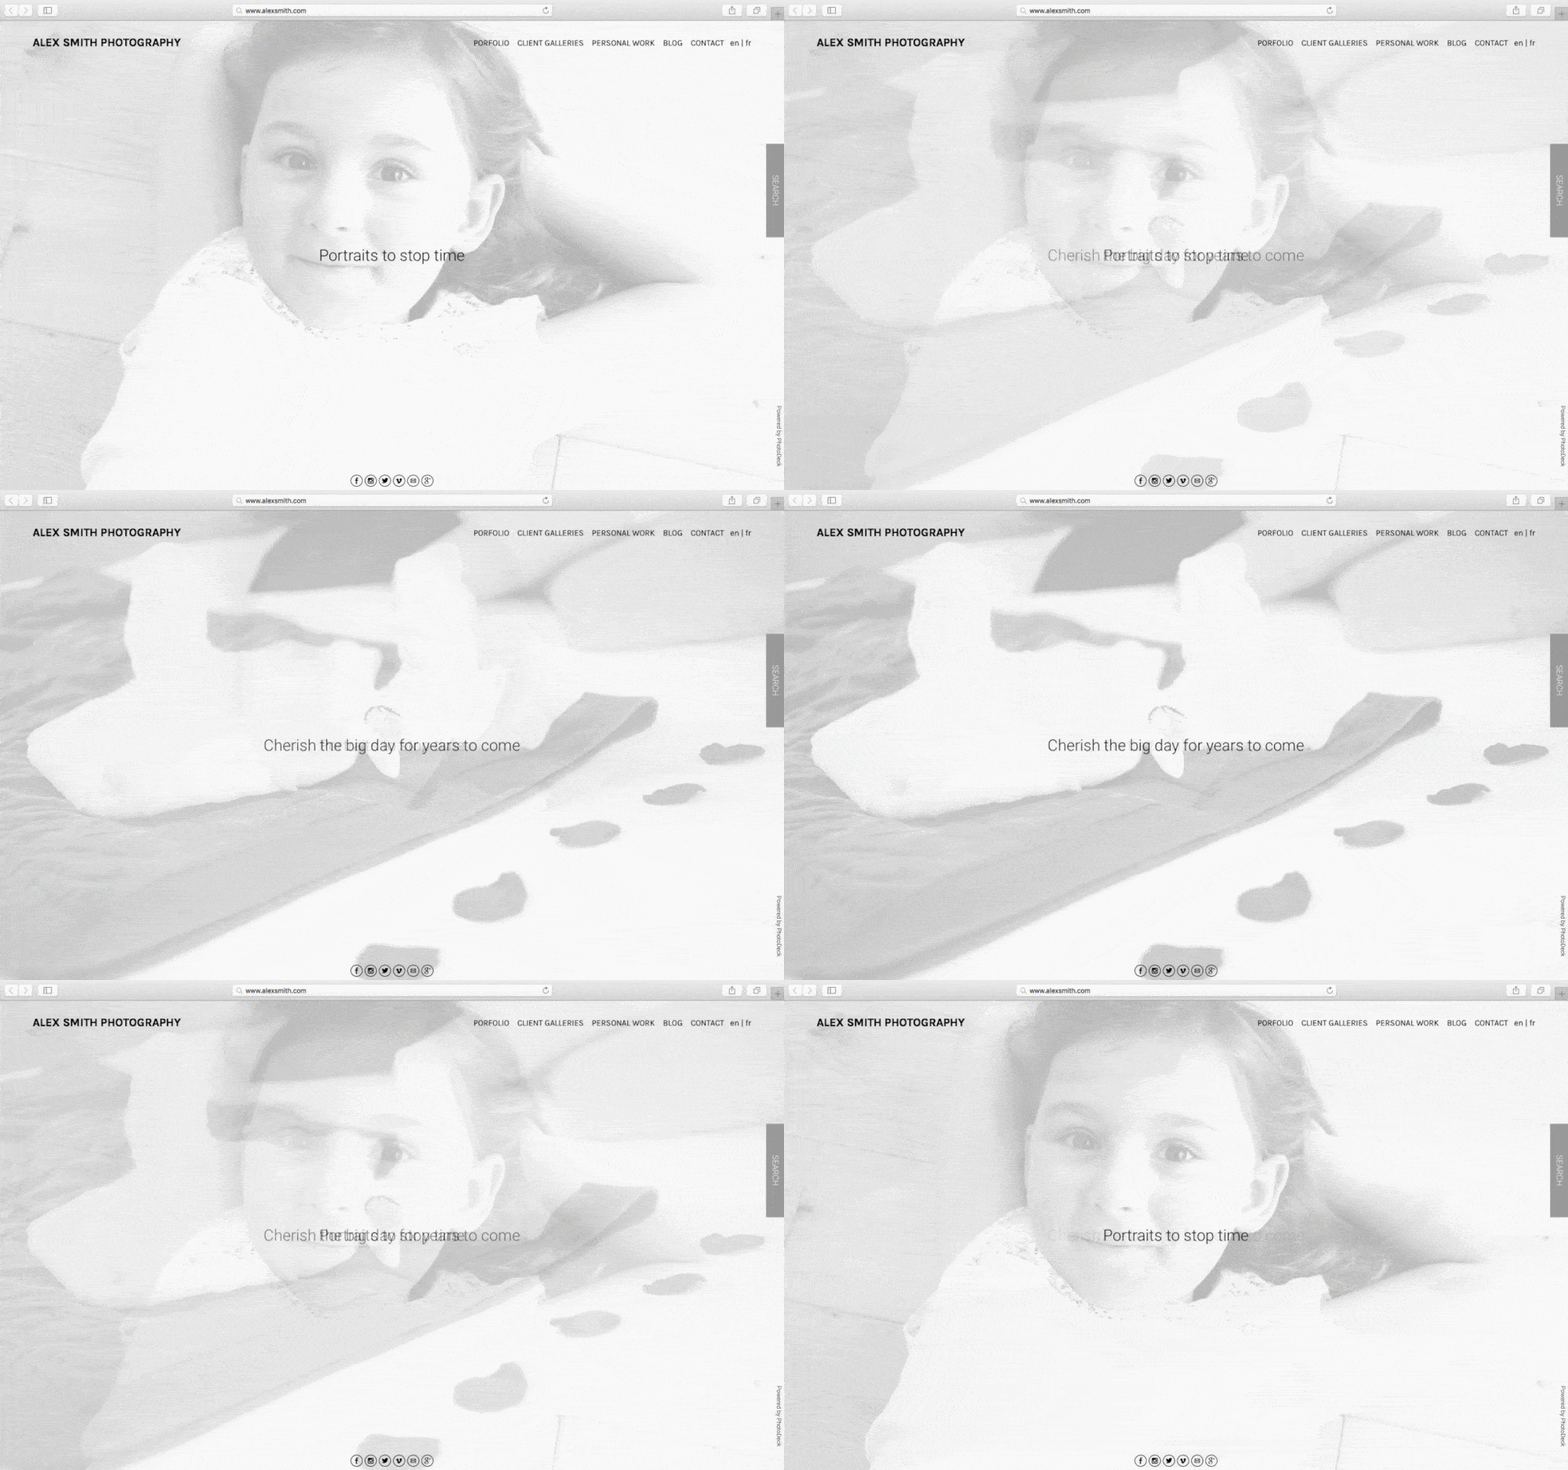
Background with splash text - Above the page content, showing either images / videos in their normal proportions or a banner ;

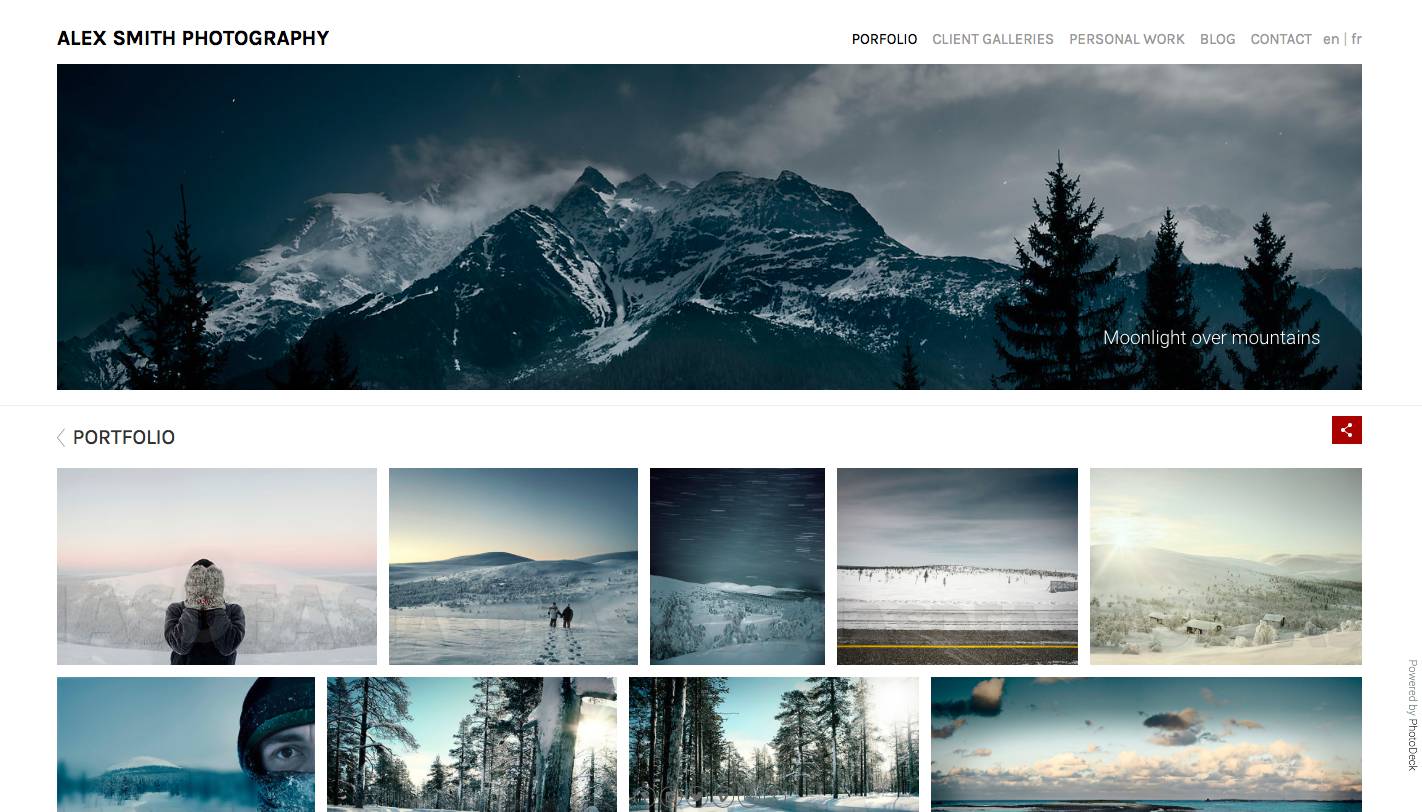
Banner with fixed text and image captions
To showcase a full gallery by itself in slideshow mode, use for example the Portfolio gallery style on the gallery instead of a banner slideshow.
Creating a new slideshow
To create a new custom slideshow for a gallery, open that gallery’s Banner dialog, and and choose a template.
To create a new custom slideshow for a custom page, open that custom page in your admin space, and choose a template under the Banner / background tab.

Adding images and videos to a slideshow
The simplest is to add content taken automatically from a gallery.
You can also hand-pick images and videos, in order to display a single one, to remove some of them from the slideshow (e.g. images in portrait orientation), or to add images/ videos from different galleries.
The quality of the images / videos is the same as when they are displayed by themselves (i.e. determined by the gallery display style).
Slideshow layout
These options allow you to position the slideshow either above the content, or as a background for the page.
The Max height setting is important when you display the slideshow above the content: regardless of the size of the viewer’s display, it allows to always display some of the content below the slideshow. This can be useful to constrain the slideshow to a banner format (e.g. max 40% of the window height), or to make it more obvious without scrolling that there is more content on the page than the slideshow (e.g. max 90%).
It is normally not a good idea to constrain the slideshow height if you display it as the page background!
To be able to nicely fill the whole space allocated to the slideshow, the images / videos are cropped. The Max cropping options allow you to limit the cropping to avoid having important parts of images cut out.
Adding text to the slideshow
When adding overlaid text, it is even more important than usually to test the result also on a smartphone.
Optional slideshow text include:
- Free text common to all the slideshow images / videos. It can be displayed as an overlay for maximum effect, or below the slideshow.
- Image-specific text, that will therefore change with each image / video. The slideshow pulls the title and/or the description of each image / video, which you can modify under My images & videos.

Text color and legibility
When displaying text over a slideshow (or a slideshow as a page background), it is important that the overlaid text stays highly legible. To that avail, you can change the Color of overlaid text setting. In addition, the Images luminosity option can come in handy to dim/lighten the slideshow and ensure that the text stands out.
 PhotoDeckHelp Center
