Creating a blog on PhotoDeck
PhotoDeck’s blog facility is meant for photographers who want a simple way to promote new work, under the same roof as their website.

How does it work?
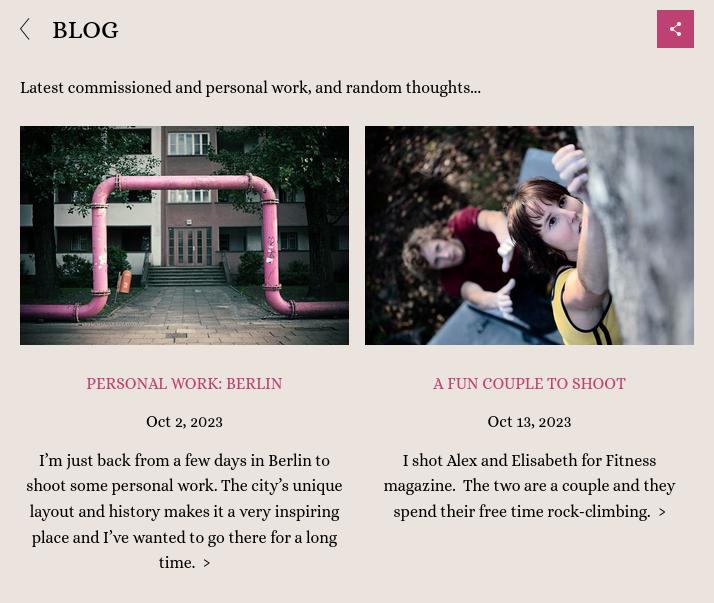
A PhotoDeck blog is simply a gallery, with sub-galleries as individual posts, all styled like on a standard blog.

This way, a PhotoDeck blog integrates perfectly with your normal workflow and with the rest of the website. All gallery features can also be used: images can be priced, downloadable, comment-able, etc…
The gallery text/additional content for a post/gallery is the main piece of text for the post. The title and description of included images or videos are also displayed and integrate with the post.

And naturally, videos can be included in the very same way as images.
Limitations
The blog facility is not meant to be as full-featured as a dedicated blogging platform (see our WordPress integration if you really need a full blogging platform).
It is designed for busy members who favor simplicity, and prefer not to maintain multiple platforms.
With this in mind, it is for example not possible to:
- Display a full blog post on the blog index page (only the cover image is displayed with an excerpt of the text) ;
- Add calendars, track-back pings and other blog-specific features ;
Creating the blog
- Create a new private gallery called “Blog”. Creating it as a private gallery means it won’t show as a thumbnail in your gallery navigation ;
- Click on the link indicating that the gallery is Hide gallery, and under Include images in public search, set the search indexing to Always (as the gallery is hidden, its images are otherwise not included in the search results).
- Enable the comments if you wish that your visitors can comment on individual images (More / Comments and star rating) ;
- Set the display style to Blog ;
- Edit your website’s navigation menu to add a link to the Blog gallery. If you wish, you can perform this step only once you have content in your blog ;
- Ready for your first post!
Creating your first post

- Under My images & videos, select the Blog gallery, then click on New post ;
- Enter a title for your post, select the Blog preset, then click on Create ;
- Optionally, edit the date of the post, and add a text via the Edit text and more link ;
- Publish images to your post in the same way as for any other gallery. Add titles and descriptions to the images and videos as appropriate ;
- Optional: share your new post on X (Twitter), Facebook or other services via the Social share link in the gallery options ;
- Done! To create new posts, simply use the preset that copies your first post settings.
RSS Feed
Like any gallery on your website, your blog has its own RSS feed, e.g. www.mysite.com/-/galleries/blog.rss
Tips
- You can edit the Blog style like any other Gallery Style, to customize the way posts are displayed.

Reduced gallery thumbnail size = blog index displayed as a grid - All gallery features are applicable to blog posts: password/login protection, download, etc…
- You can create multiple blogs on your website.
- The blog style can be applied to any gallery. In fact, it is trendy for portfolio galleries too.
 PhotoDeckHelp Center